


Dig Dug
Dig Dug Pictures
05 Feb 14
Finally got the final state picture of Dig Dug up on the album.
Photos: Final State
Photos: Final State
Done!
18 Oct 13
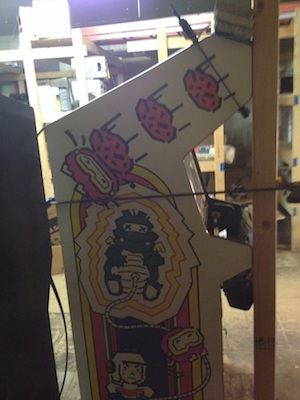
After months of reconstructive surgery, Dig Dug is ready for sale. This one was full of surprises. The good board was missing a chip, the bad board was just bad but had the chip needed for the “good” board. The control panel side needed repair. The bottoms were swollen and flaking away. I thought the paint needed some touching, more like restencilling.
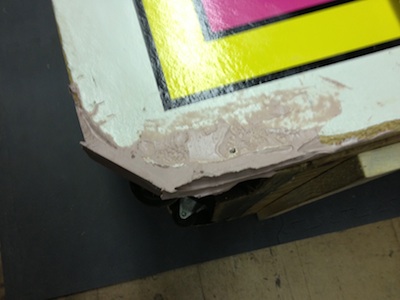
All the bondo and putty work combined with the swelling to make the T channel useless. It would be fair to say we rebuilt 25% of the channel with the router and a channel bit. New molding looks great though.
Added bottom rails to relieve the stress on the flaky bottom. Strengthen bonds on the the bottom panels to improve the overall strength of the cabinet.
Restoration Log: Dig Dug
Photos: Dig Dug
T-Molding
22 Sep 13
Dig Dug Base
28 Aug 13
Dig Dug got some attention tonight. It has been a long, dry summer for arcade work. Family trips and lake living have kept me away.
This machine is nearly ready but the bottom was falling apart. It would not hold the T molding. 4 hours of Bondo work later we have a solid bottom edge. Primer and first coat of paint were applied but more paint is needed. Next up, the routing and T molding.
Restoration Log: Dig Dug
Photos: Dig Dug
Dug Digs!
11 Apr 13
After buying a working board that was not working I was frustrated. David looked closely while packing the board to ship out when he noticed missing pins on two chips! We swapped those chips with another board and Dig Dug Is digging again.
Trade
16 Mar 13
I had a Centipede cocktail project lingering in the basement for years. Rick acquired a Dig Dug with a corroded board. He was planning to convert to a multi-game. The cabinet was in solid shape and most of the art is good. I talked him into a trade to preserve this classic.