


T-Molding
04 Feb 2015
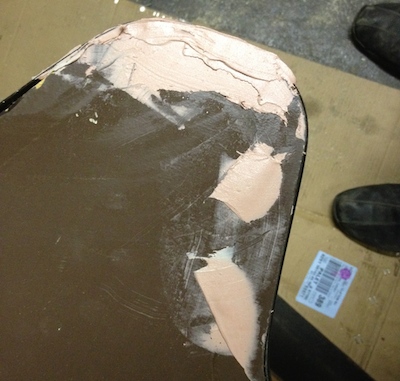
No cabinet restore is complete without new molding. This cabinet featured black 3/4” round molding with textured “leathering” that is so common I keep it in stock.
Many portions of the channel that vertical part of the “T” in T-Molding were destroyed. The Bondo makes a good replacement for strength but often the channel is filled in by the Bondo application. I found a router bit that opens (re-cuts) the channel and got to work.
The is is a nicely styled cabinet that includes several turns for the molding. You have to measure, cut and apply the molding in a rough estimate fashion then make the breaks and wedges in the grip (vertical part of the T) to accommodate smooth application around the curves.
I like to apply small amounts of Expanding Glue (like Gorilla brand) in the control panel sides and bottoms just to ensure a tighter fit/grip where the most wear occurs. Keep it light! adjustment may be needed and eventual replacement will happen. If you stuff the channel with Gorilla Glue you will regret it at replacement time and it often oozes out and looks plain ugly to me.
Artwork Applied
21 Jan 2015
Artwork is finally applied. These are very large artwork pieces and required so much in the patience department. We masked off 1” along the back and top to ensure proper alignment. It worked out pretty well. I think the reproduction artwork is about 2” shorter than the original. The top, back and front look great but the part that fills the control panel sides looks a little higher than I would like. But much better than missing, torn or faded art.
Photos: Artwork
Photos: Artwork
Repair the Damage
14 Jan 2015
After months of moving this cabinet without the base to keep it off the concrete floor some damage was inflicted on the bottom edges. Now that the base is built we can repair it. That’s right, more Bondo.
Photos: Bondo and Paint
Photos: Bondo and Paint
Star Base
02 Jan 2015
This cabinet had a serious rotted base that had to go. We built a new, lighter base and installed the missing levelers. There was no progress on this project for months while I worked out the ventilation, air pressure situation and general overspray protection.
Paint, the Final Frontier
28 Sep 2014
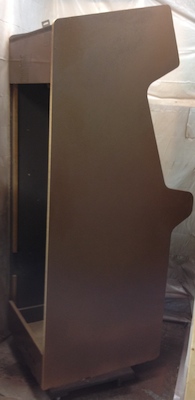
Started to use the paint booth today. Mike will be happy I am making progress on his Start Trek paint. One side is done, may get one last coat but it looks pretty good. Back is done just need to peel away the masks when dry. Third side was just one coat, then I ran dry.
Photos: Paint
Clean, the Final State
08 Apr 2014
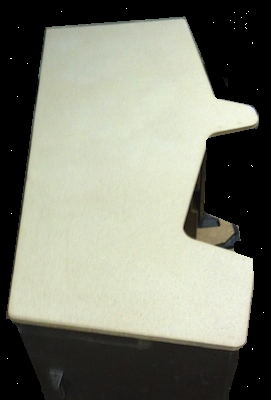
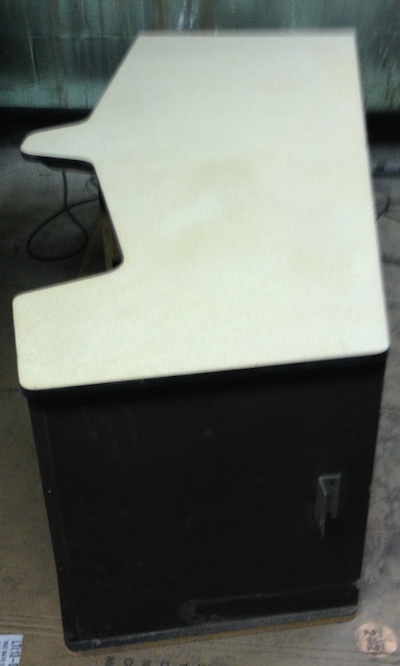
These are the voyages of the Star Trek Strategic Operations Simulator. Ok, enough joking. Side one is completely clean and ready for semi gloss brown paint.
Stripping Down
01 Apr 2014
Getting Naked! This is really one 9x11 80 grit paper’s worth of work. Maybe an hour of time. It is less than a third of one side?
Restoration is not difficult, just time intensive. Oh, and it is messy, very, very messy. The shop is a necessity it took me 9 years to discover.
Last of the Bondo
26 Mar 2014
One Side
19 Mar 2014
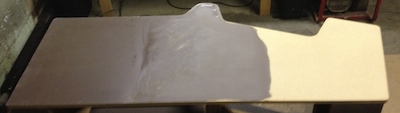
I have removed the old side art from the left side and started the Bondo on the beaten corners. I removed the stinky, old, still damp in places, wooden base. After I clean the floor up and place level levelers it will rebuild it.
As the Bondo dries I am done for the night.
As the Bondo dries I am done for the night.
Finish Him!
15 Mar 2014
I am once again called to Finish a project that has annoyed it owner to the point of pain. I am finishing a Sega Star Trek Strategic Operations Simulator.